Step-by-Step Tutorial: How To Create Bias Binding for Quilts
|
|
Time to read 4 min
|
|
Time to read 4 min
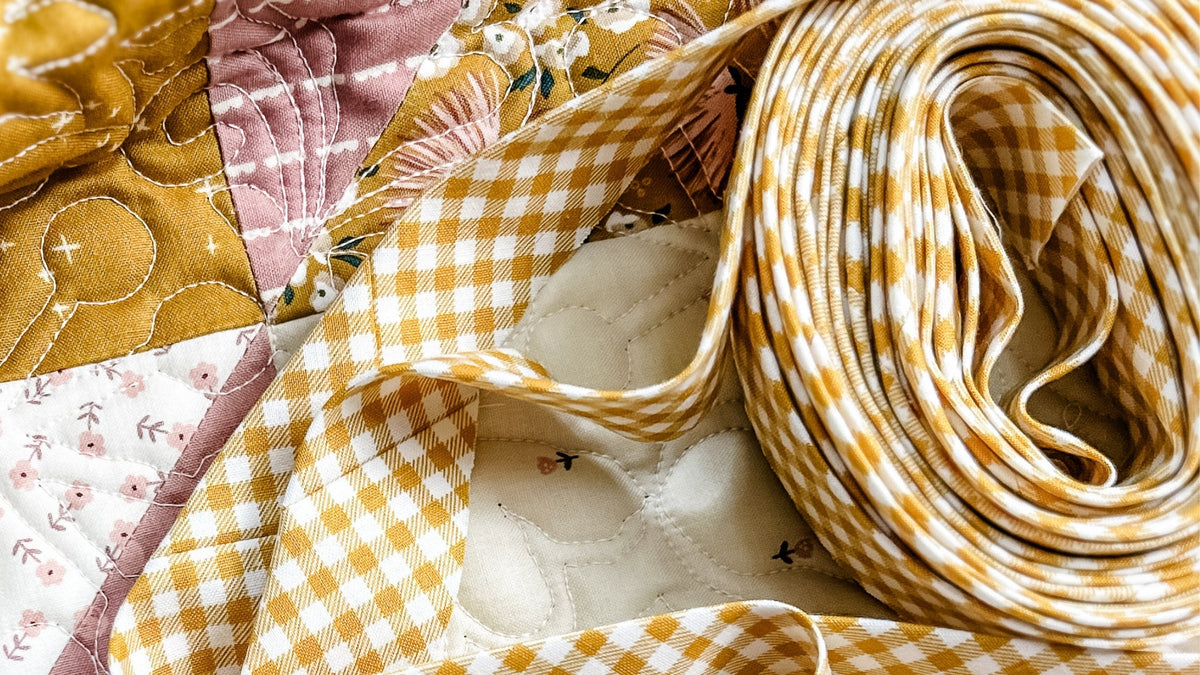
Bias binding is a game-changer for finishing quilts, especially when working with curved edges. I also love to cut ginghams, plaids, and stripes on the bias because they look so cute added as a binding that way. Follow this step-by-step guide to learn how to make bias binding from yardage fabric for your next quilting project. Let’s dive in!
Bias binding is a strip of fabric cut on the bias (diagonal grain) of the fabric. This cutting method gives the binding more stretch and flexibility, making it ideal for curved or irregular quilt edges. Creating your own bias binding allows you to customize colors and patterns, ensuring a perfect match for your quilt.
Start with a square between 15-20 inches; we'll use a 15" square in this tutorial. I'm using Butterscotch Tina Bee Gingham by Lori Holt for Riley Blake Designs.
My preference for making binding is Aurifil 50 weight thread. It's strong but thin and doesn't create any extra bulk within the seams. Use whatever you have on hand!
Start by cutting a square of fabric measuring between 15 and 20 inches. For this tutorial, I’m working with a 15-inch square. This size is ideal for creating manageable amounts of binding for smaller quilting projects. For the quilt I'm working on I made bias binding from (2) 20 inch-squares and (1) 15 inch-square and combined them.
I find working with squares larger than 20 inches is kind of cumbersome.
Fold the fabric in half. Smooth the edges and ensure an even fold.
At the folded edges, make small notches on both sides using your scissors. A tiny snip will do the trick - just enough to mark the fold.
Using your rotary cutter and quilting ruler, cut the square in half diagonally. You'll now have two triangular pieces.
Place the two triangular pieces right sides together (RST) and line up the notches you made earlier. This step ensures you fabric will align perfectly after sewing.
My finger is pointing to where the notches should line up.
Pin and sew pieces together using a 1/4 inch seam allowance. This creates a larger, continuous piece of fabric to work with.
Use your iron to press the seam open. The step helps reduce bulk and ensures your binding lies flat.
Starting at the leftmost diagonal edge, use a ruler to draw a line 2 1/2 inches from the edge. Continue drawing parallel lines 2 1/2 inches apart across the fabric until you reach the other side.
Trim along the edge of your fabric to make the final strip an even 2 1/2 inches wide.
Fold the fabric so the short ends meet, aligning the drawn lines.
Then, offset the edges by one line to create a continuous loop when cutting.
Use fabric clips or pins to secure the ends together. You will need to adjust the fabric slightly to ensure the lines will match perfectly after sewing because they will offset just a bit from the seam allowance.
Sew the short ends together with a 1/4 inch seam allowance to form a tube. This step creates the continuous nature of the binding.
Press the seam open to reduce bulk.
Using scissors, cut along the continuous line you've drawn. You'll now have a single, long strip of bias binding.
If more binding is required, repeat the steps above to create additional strips.
To join multiple strips, align the ends at a 90-degree angle, right sides together (RST), and sew diagonally across. Trim the excess fabric and press the seam open.
Finally, fold the bias binding in half lengthwise with the wrong sides together (WST). Press the folded strip with an iron to create a crisp edge.
And voila - you now have beautiful, flexible bias binding ready to use in your quilting projects.
This is my Love Notes Quilt Pattern made with the Blush 'n Butterscotch fabric collection designed by Simple Simon and Co. for Riley Blake Designs.
Making your own bias binding gives you creative control over the fabric's color, pattern, and size. Plus, it's a budget-friendly option that adds a personal touch to your quilting projects.
Learning how to create bias binding for quilts is a fun skill every quilter should have. Once you're mastered this process, you'll be able to customize your quilt finishes with ease. Ready to give it a try? Grab your fabric and get started today!
Happy Stitching!
xo,
Tamara💞
Subscribe to my newsletter below or follow me on Instagram @remivailstudio 😍
I'll keep you in the loop with updates, tips, and more sneak peeks!
Here's a Link to my Amazon Store Front if you're curious about the specific supplies I use!
There are affiliate links in this blog post that I may earn a small commission from if you purchase after clicking. This has in no way swayed my recommendations for resources. It is exactly what I use in my own sewing room.


