Hey there, lovely quilters! 🌼 Today, I’m stepping into the wonderful world of foundation paper piecing (FPP) – a technique that might seem a tad daunting to beginners but is actually a fun way to create precise and intricate quilt blocks. Whether you’re making a dainty daisy for your next project or tackling something with a bit more zing, FPP is your go-to for accuracy and those sharp, crisp points. So, grab your coffee (or tea!), and let’s get started on this exciting journey!
Foundation paper piecing is a quilting technique where fabric pieces are sewn onto a paper pattern. The paper serves as a stable base, which is especially helpful when you’re working with tiny pieces or intricate designs. It’s like building a puzzle, but with fabric and thread!
Why Try Foundation Paper Piecing?
- Precision: FPP allows for incredibly precise points and shapes, which can be tricky with traditional piecing.
- Complexity Made Simple: Some designs that seem complex or nearly impossible to achieve with regular piecing become manageable with FPP.
- Scrap Friendly: Got scraps? FPP is perfect for using up those small bits of fabric you’ve been saving.

Hummingbird FPP pattern designed by Liza Taylor Handmade
Getting Started with FPP
Materials You’ll Need:
- Paper pattern: You can find free patterns online or purchase from designers. Some of my favorite designers are:
- Liza Taylor Handmade
- Happy Sew Lucky
- Tomte Studio
- Quiet Play
- Jitka Design
- Ellis and Higgs
- Joe June and Mae
- Charise Creates
- Fabric: Small pieces and scraps are perfect.
- Sewing machine and thread: Basic sewing supplies.
- Add-a-Quarter ruler: This nifty tool helps trim seam allowances accurately, but honestly I just use a small 4 1/2" acrylic ruler I already have on hand.
- Scissors or a rotary cutter: For cutting fabric and paper.

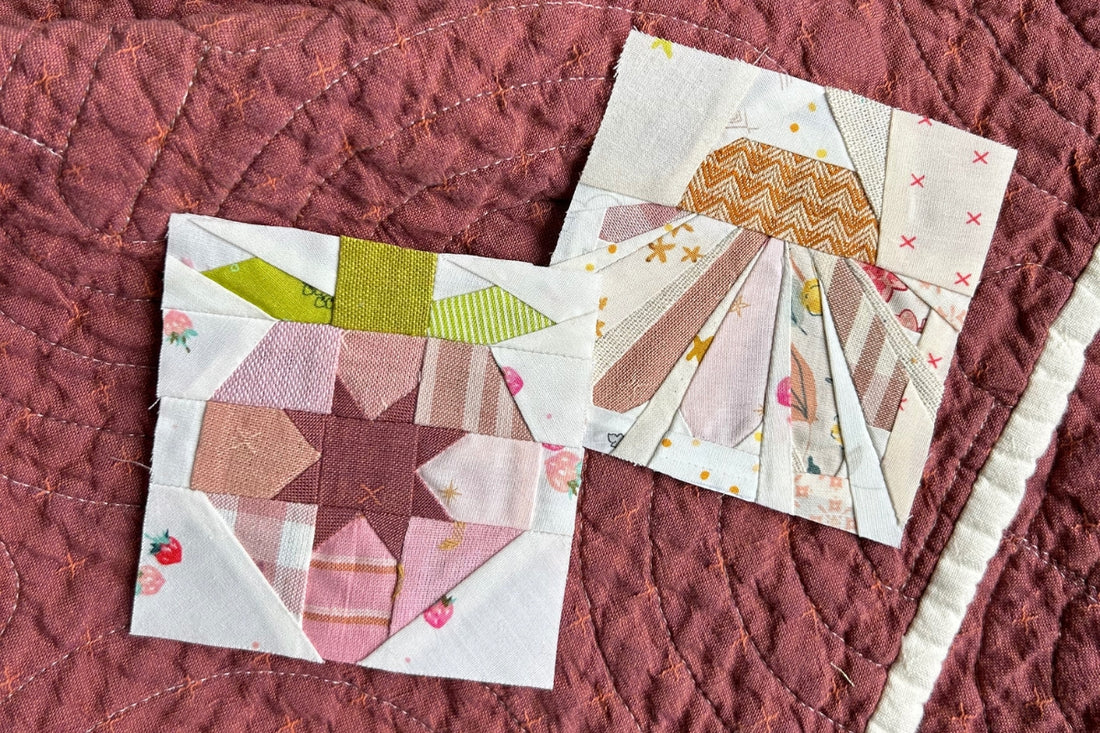
Modified Bicycle FPP pattern designed by Charise Creates
Basic Steps:
- Prepare the Pattern: Print your pattern (make sure it's the correct size) and gather your fabrics.
- Cut Your Fabric: Roughly cut pieces of fabric that will cover the sections on your pattern, including a generous seam allowance.
- Start Piecing: Place your fabric on the back of the paper, following the numerical order on the pattern. Use a shorter stitch length to make removing the paper easier later on.
- Stitch and Flip: Sew along the printed lines from the front side of the paper, then flip the fabric over, press, and trim. Repeat for each piece.
- Finishing Up: Once all pieces are attached and pressed, trim the excess fabric and paper along the outer edges of your block.
Tips for Success
- Test Print: Always print one copy of your pattern first to check the scale.
- Shorten Your Stitch: A shorter stitch length (like 1.5) perforates the paper more, making it easier to remove.
- Press, Don’t Iron: Pressing helps prevent the fabric from warping, whereas dragging an iron can stretch your pieces out of shape.
- Be Patient and Have Fun: Like any new skill, FPP takes practice. Enjoy the process and experiment with different designs!

Dragonfly FPP pattern designed by Liza Taylor Handmade
Foundation paper piecing might just be the trick you need to add that special touch to your quilts, from intricate landscapes to adorable animal blocks. Once you get the hang of it, you’ll be amazed at what you can create with tiny scraps of fabric and a bit of paper. So, why not give it a try? You might find yourself falling in love with a whole new aspect of quilting!
If you’re curious to see more of my FPP adventures, check out Instagram @remivailstudio, and don’t forget to share your creations with me. I can’t wait to see what magical pieces you all come up with!
Happy quilting! 💖✂️
xo, Tamara
2 comments
Thank you! Great tutorial!
Grateful ❤️
Can’t wait to get started!!Thank you for sharing the video. It’s so helpful to see it done rather than photos.