
Soft edges, simple steps, and a beginner-friendly finish
Forget the fuss of mitered quilt corners—let’s talk about curves.
Curved quilt corners are one of those little finishing details that can add a soft, polished touch to your quilt, especially on baby quilts, lap throws, or anything meant to feel extra cozy. Plus, they’re often simpler to bind than sharp angles. If you’ve never tried it before, this is your gentle nudge to give curves a go.
Tools You'll Need
These are my go-to tools for creating curved quilt corners:
-
Self-healing cutting mat
-
Rotary cutter
-
Fabric marker or chalk
-
Quilting ruler (optional)
-
OmniArc ruler by Omnigrid or a 12" dinner plate (or any similarly sized round object)

🪡 Step 1: Align Your Curved Ruler or Round Object
Place your quilted project on your cutting mat. If you’re using the OmniArc ruler, line up the 6" markings along both straight edges of one quilt corner. The center diagonal line on the ruler should sit right in the corner.
If you’re using a plate or other round object, center the curved edge so it reaches just about 6" in from both sides.


✏️ Step 2: Mark the Curve
Trace the arc of the ruler (or edge of your plate) with a fabric-safe marker or chalk. Your line should create a smooth, even curve from one side to the other. Repeat for all four corners.


✂️ Step 3: Trim the Curves
Carefully cut along the drawn line with your rotary cutter. Optionally, you can use a separate quilting ruler to help guide your rotary cutter along the curve if that feels helpful. Normally I would hold the ruler, but I couldn't take the picture and hold it. ;)


🧷 Step 4: Use Bias Binding for a Smooth Finish
Add your binding! Bias binding is ideal for curved corners because of its flexibility. It molds around curves without puckering or pulling. If you’ve never made or used bias binding before, I have a full tutorial that walks you through the process step-by-step. You can also buy bias binding. Non-bias binding may work too, I just haven't tried it.
👉 Click here to read my Bias Binding Tutorial.
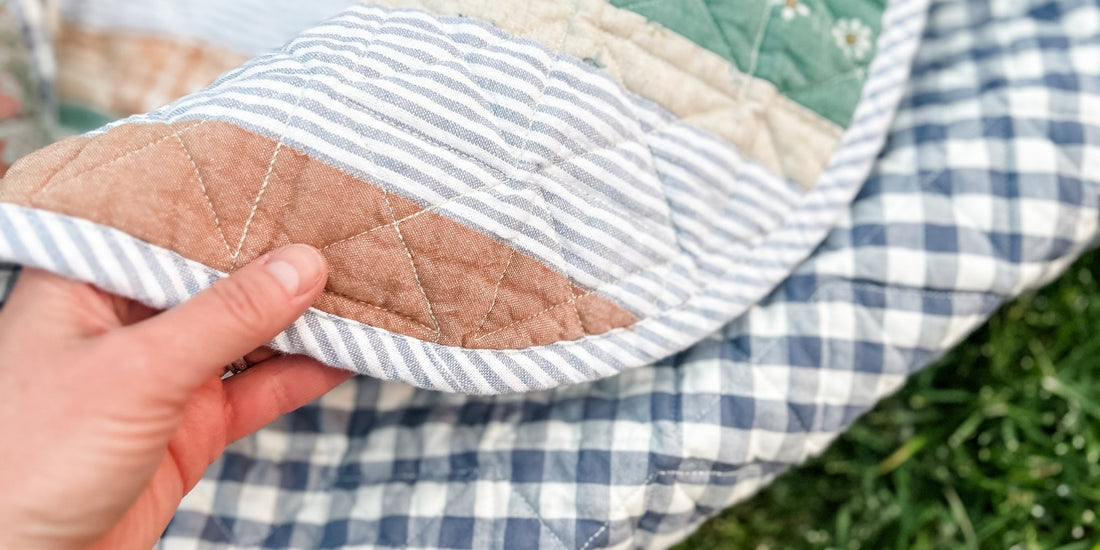
I like to machine stitch the binding to the back of the quilt first then attach it to the front either by machine or hand (blind stitch or big stitch). I attached the binding in the picture below by machine to the back and front of my quilt.
For attaching by machine or blind stitch, I use Aurifil 50 weight thread. But for big stitch binding I will generally use Aurifil 12 weight, 8 weight, or Floss.


Congrats! You're finished.
Subtle, clean, and inviting
If you’ve ever felt unsure about how to finish a quilt with mitered corners, curved ones just might be your new favorite option. They’re simple to mark, quick to cut, and easy to bind—plus, they bring that soft, handcrafted feel I love so much.
Happy Quilting!
xo, Tamara
I have some resources and links to my patterns below!
I'd love for you to follow me on Instagram @RemiVailStudio and Subscribe To My Weekly Newsletter (see below).
I'll keep you in the loop with updates, tips, and more tutorials! Tutorials like this are so fun to share. I hope you've learned something new or taken a little tid bit that you can add to your own sewing practice.

Hi, I'm Tamara! I'm the heart and hands behind the scenes at Remi Vail Studio. When I'm not sewing you'll find me loving on my two fur babies, Tellee and Corduroy, playing outside with my hubby, or elbow deep in the dirt of my garden!
Resource Links
Quilt Pattern
My Favorite Threads
- Aurifil 12 weight Thread - quilting, embroidery, big stitch binding
- Aurifil 12 weight Wool Thread - embroidery
- Aurifil 8 weight Thread - embroidery, big stitch binding
- Aurifil 50 weight Thread - piecing, bobbin
- Aurifil 80 weight Thread - hand sewing
Essential Quilting Tools
Here's a Link to my Amazon Store Front if you're curious about the specific supplies I use!