
Hello, friend! 🌟 Today, I'm thrilled to share a fun and practical project using one of my favorite quilt patterns—the Always Together Quilt. If you’ve been searching for a way to add a cozy, handmade touch to your home decor, this tutorial is for you! We’re going to transform the mini size of the Always Together Quilt block into a beautiful zipper pillow that will bring warmth and personality to any room.
This tutorial is perfect for anyone who loves quilting but wants a quick project or a new way to showcase their favorite blocks. And if you’re new to zippers, don’t worry—I’ll guide you through each step so you can confidently add this skill to your crafty repertoire.
So, let’s gather our supplies and get started!

Grab the Always Together Quilt Pattern HERE!
Materials You’ll Need:
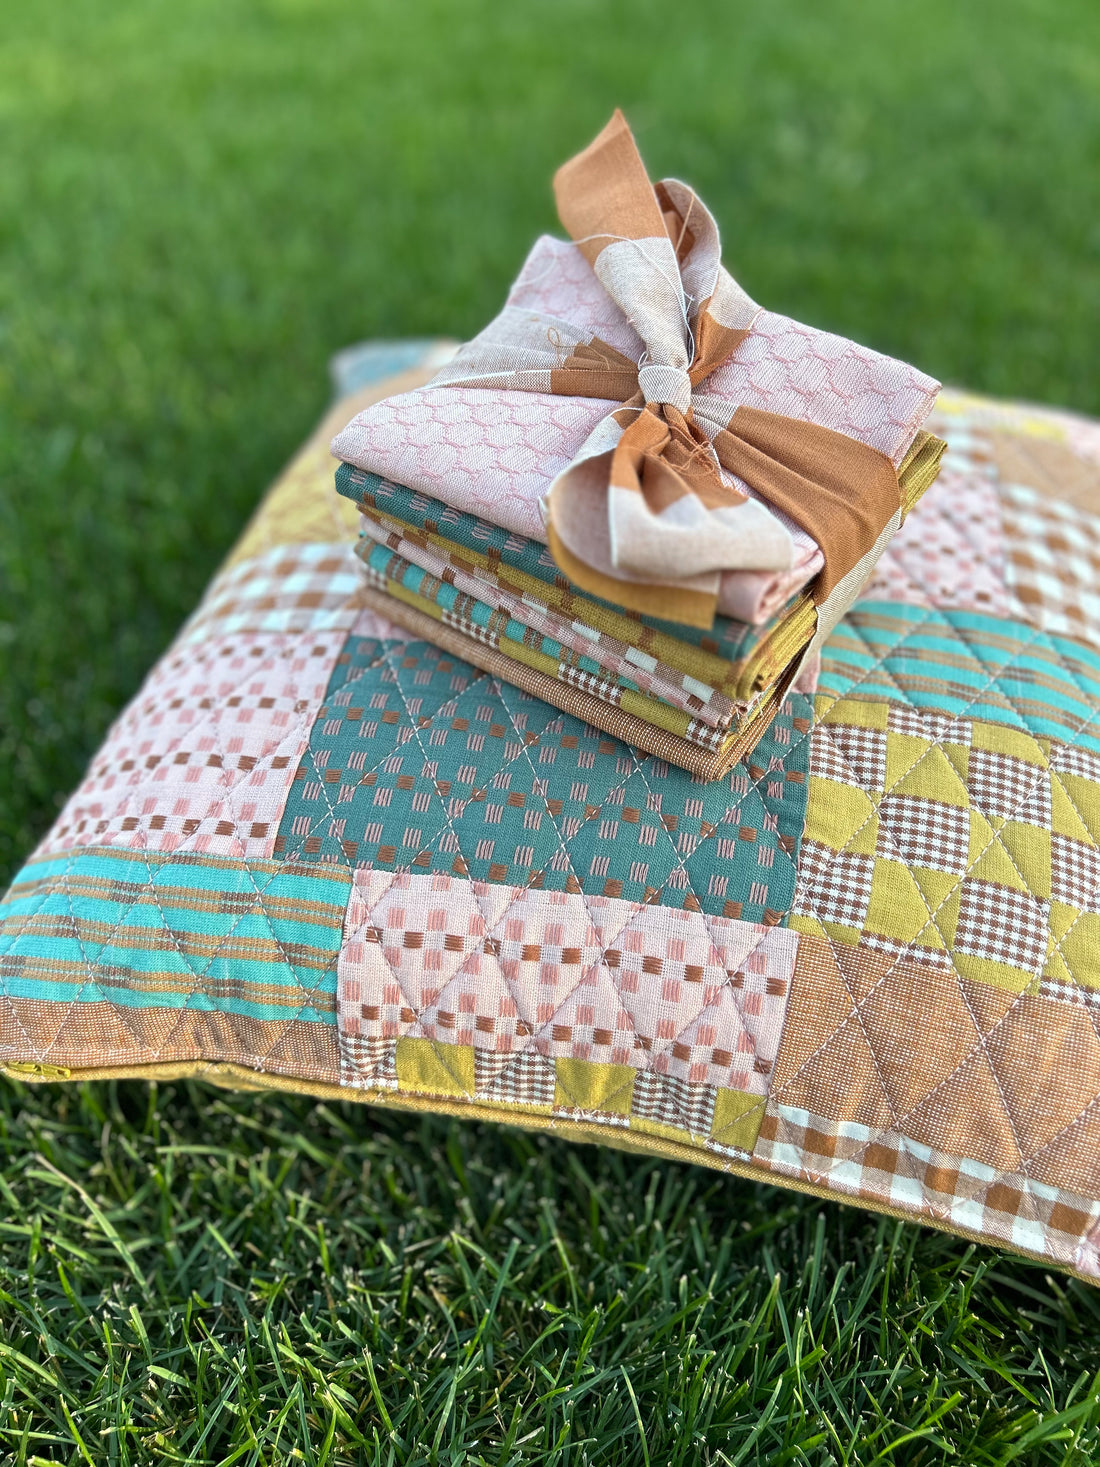
- Always Together Quilt Block - Mini Size: This scrappy patchwork quilt block makes the cutest throw pillow. You could also use a finished block from your stash or whip one up specifically for this project. The Always Together Mini Size Quilt Block measures 20 1/2" x 20 1/2" unfinished.
- Fabric for the Pillow Back: I recommend a sturdy cotton, cotton/linen blend, or light canvas that complements your quilt block. Cut it to match the size of your quilt block: 20 1/2" x 20 1/2".
- Lining Fabric: 2 pieces of quilting-weight cotton or muslin. I like to cut mine slightly larger to include ~2 inches of overage on all sides: 24 1/2" x 24 1/2". This fabric will only be visible when the pillow cover is unzipped so use something you have in your stash.
- Zipper: A 16" zipper (this is the measurement of the length of the teeth). There should be at least 1/2" of tape on either end in addition to the teeth measurement. I prefer using a 1" wide zipper tape. You can also use a longer nylon zipper or zipper by the yard and cut it to length.
- Batting or Fusible Fleece: 2 pieces large enough to cover your quilt block with at least 1 inch extra on each side, ~22 1/2" x 22 1/2".
- Pillow Insert: I’m using a 20" x 20" insert to give the pillow a full, snug look.
- Thread: I’m a big fan of Aurifil for piecing and quilting. For this project, I’m using 50 wt for piecing and 12 wt for quilting.
-
Sewing Machine Needles:
- Schmetz Microtex 90/14: Perfect when using 50 wt Aurifil thread for piecing and quilting.
- Schmetz Jeans/Denim 100/16: Ideal for quilting with Aurifil 12 wt thread.
- Sewing Machine: My trusty Juki TL2020-PE has been my go-to for projects like this.

Grab this Always Together Mini Size Quilt Kit HERE!
Additional Sewing Notions- Rotary Cutter (45 or 60 mm) and a cutting mat
- Pinking Shears or Pinking Rotary Blade
- Seam Ripper
- Temporary Fabric Pen OR Hera Marker
- Basting Spray OR Curved Basting Pins
- Straight Pins OR Clips
- Sharp Scissors
- Zipper Foot and Walking Foot for your sewing machine
- Tweezers for removing thread remnants
Here's a LINK to my Amazon - Quilted Pillow Essentials List if you're curious what specific supplies I use!
The Amazon links I’ve included are affiliate links, and I may earn a small commission if you purchase something. I’ve provided these links because I always get tons of questions about the supplies I use, and this is the easiest way I've found to share my favorites. Thanks so much!
Step 1: Quilt Your Block


Backing Quilt Sandwich
Let’s start by giving the quilt block a little extra love. To make a quilt sandwich, layer your lining fabric face down, then your batting on top, and finally, your quilt block or pillow backing fabric face up on top of the batting.
Secure your quilt block and lining fabric to the batting using basting pins or temporary basting spray. I like to use basting spray for ease.
You will need to make two quilt sandwiches—one for the quilt block top and one for the pillow backing fabric.
I like to draw my quilting lines on the block with a temporary fabric pen and a long quilting ruler. You can also use a Hera marker to make temporary indentations in the fabric.

Quilt both sandwiches however your heart desires. For this project, I kept it simple with straight lines in a 60-degree diamond pattern to really let the block design shine. There’s something so satisfying about watching those stitches come together, isn’t there? Don’t forget to use your Quilting Foot—it makes the quilting process so much easier.

For this project, I used Aurifil 12 wt for my top thread and Aurifil 50 wt in my bobbin. Here are some tips for quilting with 12 wt thread:
- Use a Jeans needle (100/16) to handle the thicker thread.
- Increase your stitch length to around 3.5 mm.
- Hold the thread tails when you start sewing to prevent them from getting sucked into your machine. Using a leader fabric can also help.
- Cut your thread tails with scissors instead of using your machine's thread-cutting mechanism.
- Slow down! This will result in more even stitches and prevent skipped stitches.
- Use a thinner thread in your bobbin (like Aurifil 50 wt).
- Test your tension on a scrap fabric first.
- Stitch around the perimeter of your project within the seam allowance to lock your stitches down before trimming.

Step 2: Trim Your Quilt Sandwich
Once you’re happy with your quilting, square your block. You’ll notice that your sandwich shrinks a little after quilting—don’t worry! My 20 ½” inch square ended up being closer to 19 ¾” square. I squared both the block and backing up, which is actually perfect because the 20" x 20" pillow insert will fill out the entire pillowcase this way.


Step 3: Prepare to Attach the Zipper
Now, let’s talk zippers. I know they can be intimidating, but trust me—once you get the hang of it, you’ll wonder why you ever worried!
- Lay your quilted top wrong side facing down with the bottom of the block closest to you.
- Place the zipper face down, with the pull on the left.
- Center the zipper along the bottom of the quilted block. Make sure there are about 2 inches between the teeth and the raw edges of the quilted block.
- Make a mark on the fabric where the teeth begin and end—this should be about 2 inches from either end.
- Place a pin at each of these points.


Step 4: Sew the Seam Where the Zipper Will Be
Place the quilt block top and pillow backing sandwiches right sides together, aligning the bottom edges.
- Sew a 1/2" seam allowance along the edge that will have the zipper.
- Backstitch at the beginning. Sew using a 2 - 2.5 mm stitch length until you reach the first pin. Backstitch.
- Change your stitch length to a basting stitch (4.5 - 5 mm) and sew to the second pin. Backstitch.
- Change your stitch length back to 2 - 2.5 mm and sew to the raw edge. Backstitch.

1/2" seam allowance stitched on the ends with a 2 mm stitch length

1/2" seam allowance stitched between the pins with a 4 mm basting stitch length
Step 5: Use Pinking Shears or a Pinking Rotary Cutter to Trim
Using your pinking shears or pinking rotary cutter, trim the very edge of the seam to prevent fraying.

Step 6: Press the Seam Open
Press the seam open to prepare it for attaching the zipper.

Step 7: Prep the Zipper
- Open the quilt sandwiches so they are face down.
- Use your seam ripper to open a few of the basting stitches at one end.
- Place the zipper face down on the basting stitches and push the zipper pull through the area you just seam-ripped.
- Line up the zipper teeth with the basted seam and secure the zipper tape to the quilt seam allowance with pins.


Step 8: Attach the Zipper Foot to Your Sewing Machine
The zipper foot allows you to sew very close to the zipper teeth. Check your machine manual if you have questions about attaching or using this foot.

Step 9: Sew Along One Side of the Zipper
- Using a 2.5 mm stitch length, insert your needle about 1/8" from the zipper, starting at the end without the zipper pull.
- Backstitch a few times.
- Sew along the zipper until you reach the pull. You may need to rip a few more stitches to move the pull out of the way.
- When you get a few stitches past the pull, backstitch a few times.
- Leave your needle down, turn the fabric, and stitch across the end of the zipper teeth. Backstitch.


Step 10: Sew Along the Other Side of the Zipper
- Continue sewing along the other side of the zipper. Move the zipper pull if needed.
- When you reach a few stitches past the other end of the zipper teeth, backstitch to secure.
- Turn the fabric and sew across the zipper tape, just past the end of the zipper teeth, to the previous stitches. Backstitch across the zipper tape end to secure.


Step 11: Rip Out the Temporary Seam Basting Stitches
The zipper is all sewn in—yahoo, you did it!
- Fold the quilt block and backing so they are now right sides out.
- Use your seam ripper to remove the basting stitches along the zipper teeth. Tweezers can help pull out the extra little threads.


Step 12: Unzip the Zipper
This is a VERY IMPORTANT step! Trust me—once you sew the other pillow seams, you'll need a way to turn the pillow!

Step 13: Pin and Sew the Other Edges of the Pillow
- Fold the pillow in half at the zipper with the right sides facing each other.
- Align the 3 raw edges of the pillow front with the pillow back.
- Pin or clip to secure.
- Measure 1/2" in from the unsewn edges at the corners and make a mark with your temporary fabric pen. This will indicate where you should turn the fabric.
- Sew using a 1/2" seam allowance, folding the zipper seam allowance toward the pillow.
- Backstitch at the beginning. Sew toward the corner. When you reach the marked dot, backstitch, keep your needle down, raise your foot, and turn your fabric.
- Repeat this when you get to the next corner.
- Sew to the end, ensuring the zipper seam allowance is folded toward the pillow


Step 14: Use Pinking Shears or a Pinking Rotary Cutter to Trim the Raw Edges
Use your pinking shears or a pinking rotary cutter to trim the seam allowance. Alternatively, you can serge the edges to prevent fraying with use or washing.
Clip the corners at a diagonal to reduce bulk in the corners after turning—be careful not to cut the stitches.


Step 15: Turn Your Pillow Case
Turn the pillowcase right side out through the zipper opening. Use your finger or a corner turner to push the corners out.


Step 16: Insert Your Pillow Form
Give your new pillow cover a quick press, then comes the best part—smoosh your pillow insert inside the quilted pillowcase. Zip it up, and YOU'RE DONE! Congratulations! I hope you love it. Just like that, you've created a custom quilted pillow perfect for your couch, bed, or favorite chair.


Final Thoughts
I hope this tutorial brought a little extra joy to your day! The Always Together Quilt pattern is so special to me, and I love finding new ways to use it in projects like this. Whether you’re making this pillow for yourself or as a gift, I know it’s going to bring warmth and comfort to any space.
If you give this project a try, I’d absolutely love to see it! Please share your creations on Instagram and tag me @remivailstudio or use the hashtag #alwaystogetherquilt so I can see the beautiful work you’ve done.
Happy sewing, and as always, thank you for being part of this creative journey with me!
xo, Tamara 🧵💛
Resource Links
If you’d like to read more about the Always Together Quilt, buy the pattern, or check out quilt kits for the pillow or throw size, explore the links below:
- Always Together Quilt Pattern - PDF
- Always Together Quilt - BLOG
- Always Together Throw Size Quilt Kit
- Always Together Mini or Baby Size Quilt Kit
- Remi Vail Studio Amazon Storefront
The Amazon links I’ve included are affiliate links, and I may earn a small commission if you purchase something. I’ve provided these links because I always get tons of questions about the supplies I use, and this is the easiest way to share my favorites. Thanks so much!