There’s nothing quite like finishing a quilt top—only to realize you’re a few inches short on binding. 😩
Whether you’re a first-time quilter or trying something new like flange binding, it helps to have a simple formula to calculate exactly how much quilt binding you’ll need. Here’s the method I use every time:
✂️ Quilt Binding Formula (Step-by-Step)
Step 1: Quilt Perimeter
Add up all four sides of your quilt. Width + Width + Length + Length = Total Perimeter
Step 2: Add a Smidge Extra
Add 24 inches to the total perimeter from Step 1. This gives you extra fabric for joining the strips, turning mitered corners, and easing into the final seam.
Step 3: Number of Strips Needed
Divide the total from Step 2 by 40 (or the usable width of fabric)
This provides the total number of fabric strips you'll need to cut. Most quilting cotton has 40–42" of usable width between selvages.
Step 4: Total Amount of Fabric Needed
Multiply the strips from Step 3 by the width of your binding strips (usually 2½"). This provides the total amount of fabric you’ll need in inches.
📐 Quilt Binding Example
Let’s say your quilt measures 66" wide × 88" long:
Step 1: Quilt Perimeter
66 + 66 + 88 + 88 = 308" perimeter

Step 2: Add a Smidge Extra
308 + 24 = 332" (with extra for joining and corners)

Why I Add 24 Extra Inches
You might see other formulas recommend 10–12 extra inches, but I like a little more breathing room. That extra 24" makes things so much easier when you're joining ends or turning corners, and if I have leftover, I just save it for scrappy binding later.
Step 3: Number of Fabric Strips
332 ÷ 40 = 8.3 → round up to 9 strips

Step 4: Total Amount of Fabric
9 strips × 2.5" = 22 ½" of fabric
That’s about ⅔ yard (24")
Tip: If you’re ordering online or buying from a local shop, many shops only cut in ¼ or ½ yard increments, so you may need to round up to ¾ yard (27") but it's always a good idea to ask about your options.

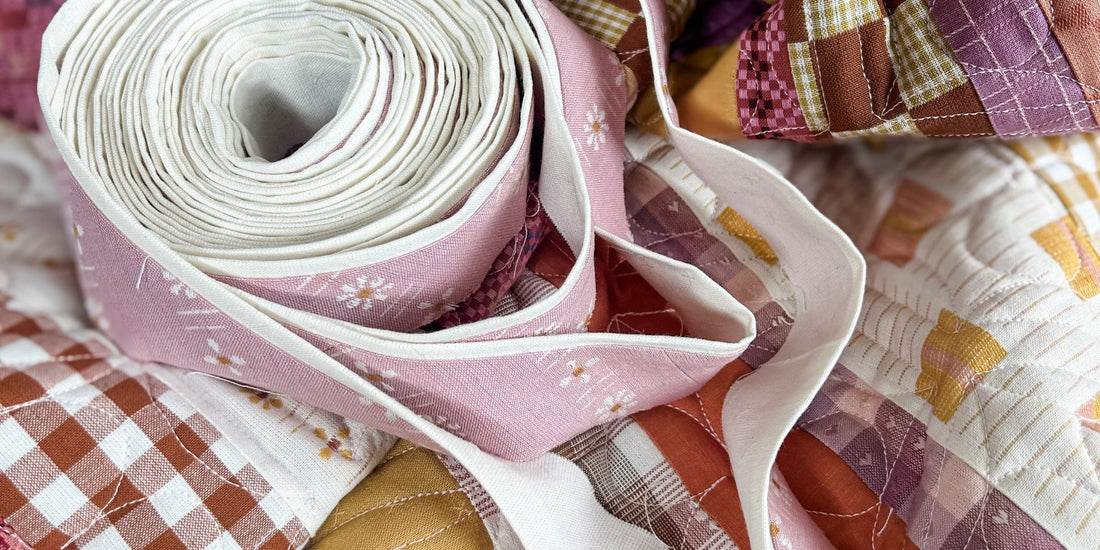
💫 Want to Try Flange Binding?
Flange binding is one of my favorite ways to finish a quilt—it adds a sweet pop of color and texture around the edges. I used it on my Folk Fables Quilt, and got so many questions that I put together a full tutorial:
👉 Click here for my FREE Flange Binding Tutorial
Binding might be the final step—but it’s the one that brings everything together. I hope this helps you finish your next quilt with confidence (and just the right amount of fabric).
Happy Quilting!
xo,
Tamara
If you'd like a PDF download to print and hang in your sewing room. Snag that by filling out the form below!

Hi, I'm Tamara! I'm the heart and hands behind the scenes at Remi Vail Studio. When I'm not sewing you'll find me loving on my two fur babies, Tellee and Corduroy, playing outside with my hubby, or elbow deep in the dirt of my garden!
1 comment
It is super generous of you to offer this calculating binding that we can print out and use. Your step by step article on flange binding is the best one I have seen illustrated and described. Thank you.